Playback and Frame Blending
Playback settings
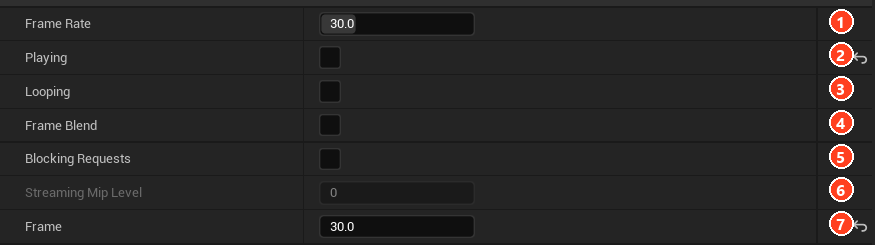
| # | Setting | Default | Description |
|---|---|---|---|
| 1 | Frame Rate | 30 | Playback rate in frames per second, independent of the export rate. |
| 2 | Playing | On | Advances the playhead every tick. |
| 3 | Looping | Off | Restarts at the end. This is a plain wrap: for a seamless loop, see Loops, Clips and Flipbooks. |
| 4 | Frame Blend | Off | See below. |
| 5 | Blocking Requests | Off | Always waits for each frame. |
| 6 | Streaming Mip Level | 0 | SVT only. Lower resolution for distant volumes. |
| 7 | Frame | 0 | The playhead. Fractional values blend between frames. |
Frame blending
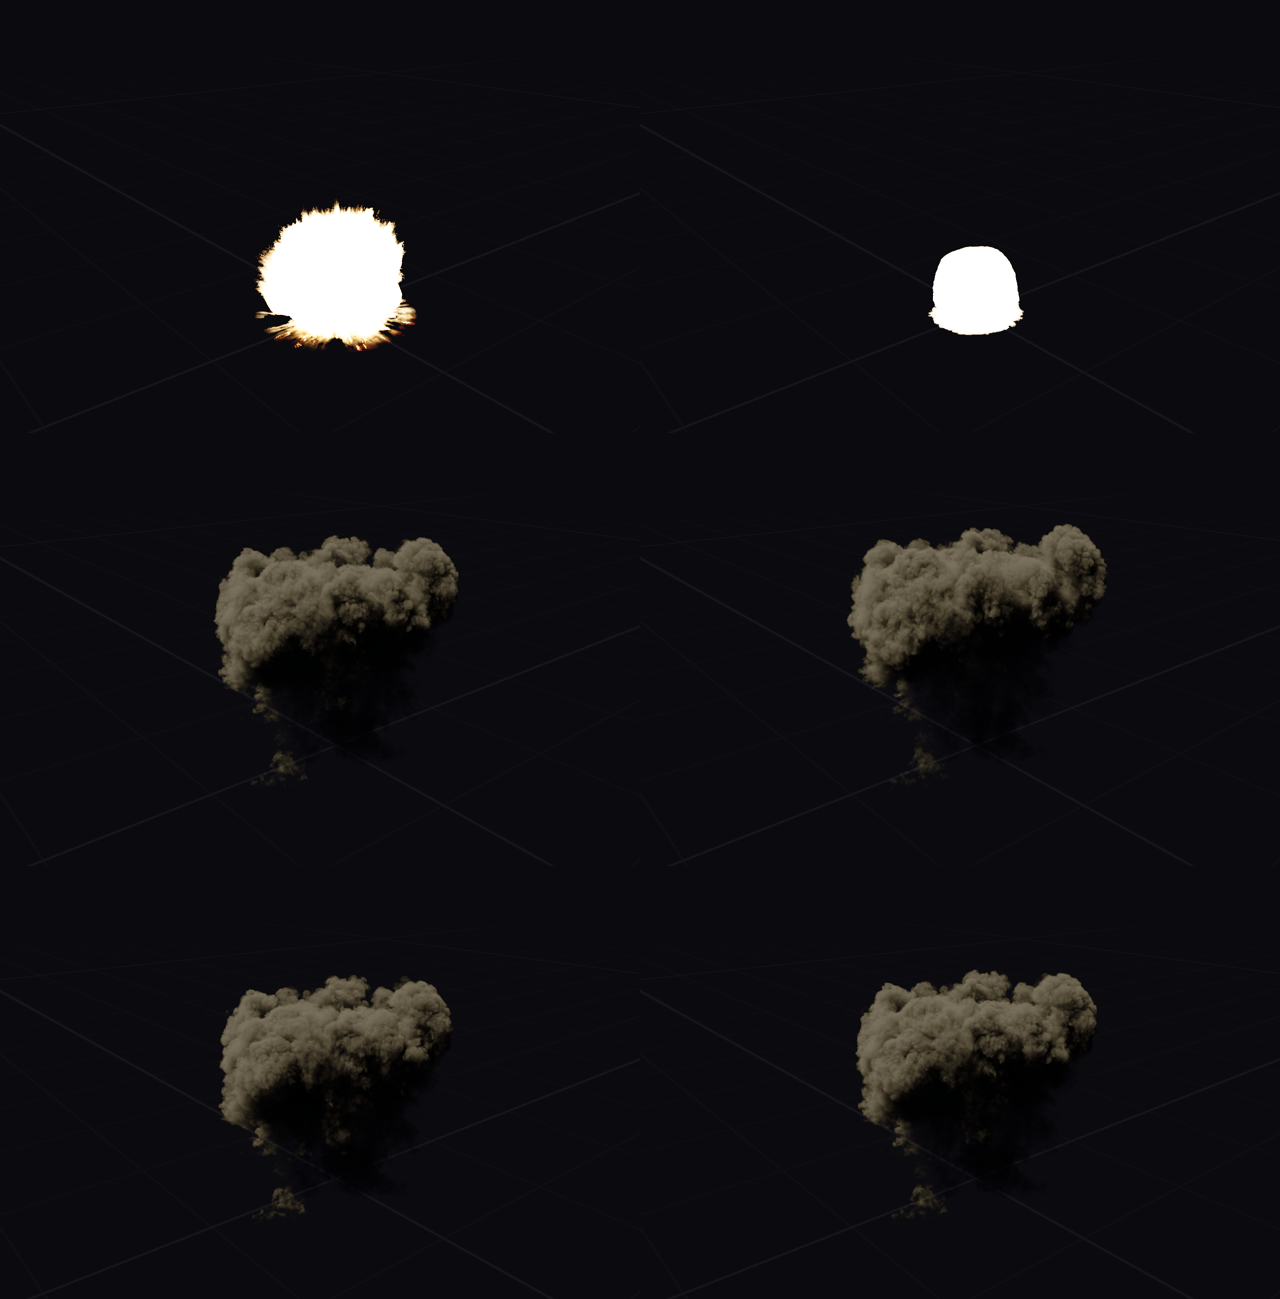
Unreal plays volumes one whole frame at a time. Frame Blend interpolates between two frames by moving each along the velocity grid, so a sequence exported at a low frame rate still plays smoothly, or can be slowed down.
Every frame you do not need to export saves disk and memory, so frame blending is an optimization as well as a quality feature. With it off, only one frame is decoded at a time, roughly halving memory and work.
Blending needs a velocity grid and a material with Use Frame Blend on.
Calibrating velocity
Velocity grids do not record their own scale, axis order or sign. CALIBRATE VELOCITY measures them by moving each frame forward and comparing it with the next, then stores the result per frame pair.
Compressed imports calibrate automatically. Run it by hand on an SVT, or after changing the velocity channels. The arrow beside the button reverts to the state before the first calibration. Run UPDATE MATERIAL afterwards.
To check the result, set 07 - Data Visualization > Velocity Mode to Blend residual, turn on Frame Blending, and scrub between frames. Green means the frames land on each other, red means ghosting.
Playback is settled. Lighting decides how the volume sits in the scene.